Prep is key!
- Make sure the surface that you are working on and the surface where the painting will be drying is level. This will help prevent the paint from running off of one side of the canvas.
- Paint will flow, so make sure that work surfaces are protected. I use plastic. Others have use trays to do their pours.
- You will need something to raise the “canvas” off the work area. The paint will need to be able to drip from the canvas. I typically use disposable cups, or for small 4″ painting I use craft sticks. Others have inserted thumb tacks into back of canvas.
- Do not use canvas panels. The paint will cause the panels to warp.
- While the painting is drying; reduce the airflow around the painting. This can be accomplished by storing the painting in an unvented room or placing a box around the painting while it dries. The flow of air may make the paint flow off the canvas in an undesirable area.
- You can pour on any surface; wood, tile, canvas…. Just make sure you seal and let dry any porous surface. Primer on wood works fine. Gesso in tile works fine.
Paint Mixture:
Most of the recommendations are to use a 50/50 mixture of acrylic paint and an additive. The mixture should be the consistency of melted ice cream, so it will flow around the “canvas”. My mixtures usually consisted of acrylic paint and Floetrol. Floetrol is a latex paint additive that removes brush strokes. It can be purchased from most hardware stores like Home Depot, Lowes, Ace Hardware…. Occasionally, I may add a small about of water, <10% of the additive mixture volume.
Stir the mixture well, don’t forget to scrap the sides. Clumps in the paint mixture is bad. Craft sticks work well for stirring.
You can have as many colors as you want, but the trick is: each color should have the same consistency. Heavier colors will sink to the bottom on the “canvas”. Thinner colors will float.
Experiment with smaller pours before you do a large pour.
You can use this resin calculator to determine how much paint mixture you will need. https://www.artresin.com/pages/calculator
Cells in Painting:
If you want cells in the painting, you can add a few drops of silicone to each paint color. Or, you can use a blow torch on the painting. I use treadmill oil.. Me and fire, No! Stir into paint mixture gently.
Pours:
- Decide on the colors
- Make a mixture for each color
- I usually place a thin layer of the paint mixture on the canvas before I do the pour.
Dirty cup pour – is where you layer the colors in a cup before pour it on the canvas. Reminder: colors in bottom of cup usually end up on top of painting. You can either turn the cup upside down on the canvas, lightly tap it a few times, and raise the cup straight up; or you can just pour or drizzle the contents of the cup over the painting.
Another method is just to pour one paint color at a time over the canvas. There are other methods too, such as swiping.
After the paint is on the “canvas”, tilt the canvas in all directions to spread the paint over the canvas. For the missed areas on the edges of the canvas, you can use either your fingers or paint brush to cover the edges. Sometimes, I will dip the miss corners into the paint drips. I usually attempt to clean the drips from the bottom edge of the canvas with a brush.
Let dry. The painting can usually be moved after drying over night. I usually let the painting dry several weeks to a month before applying the polyurethane.
If you used silicone in the mixture, let the painting dry at least two weeks and clean the painting. I have a spray bottle with a mixture of Dawn and water that I spray over the painting and wipe gently with a paper towel to clean the silicone off. After it is cleaned, let dry again. I usually let it dry a several days to a few weeks after cleaning.
Seal the painting. I use gloss polyurethane and multiple coats. Some use resin. Me and resin don’t always work well together.
Check my blog for more tips: https://sarahcath.com/category/crafts/pour-painting/
Note:
I am still learning. Watching video, reading articles, and monitoring the Facebook group Acrylic Pouring Addiction.
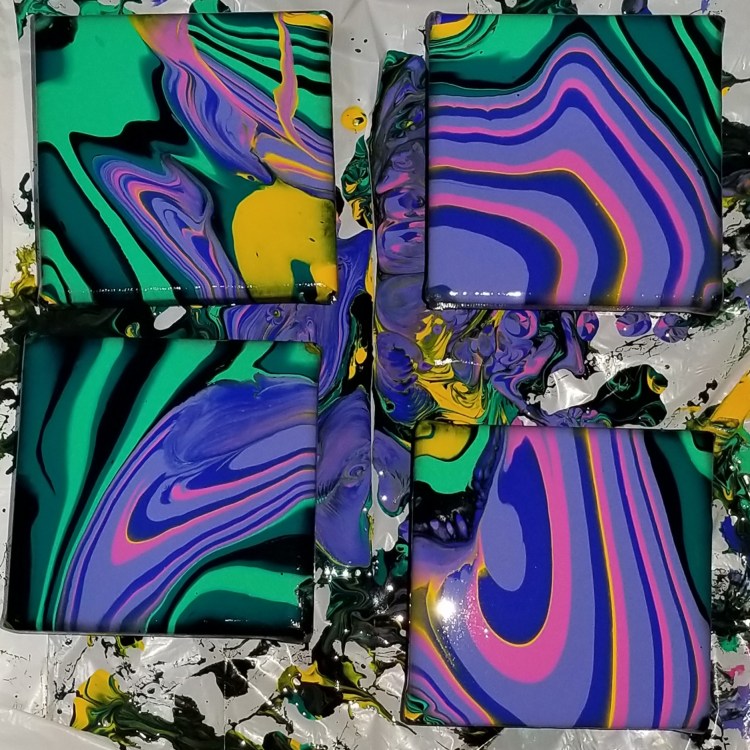
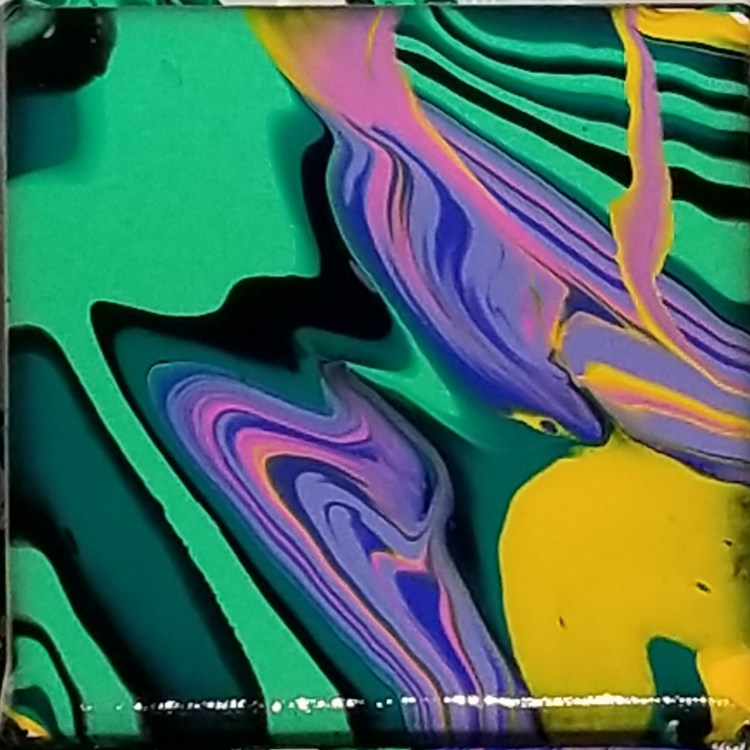
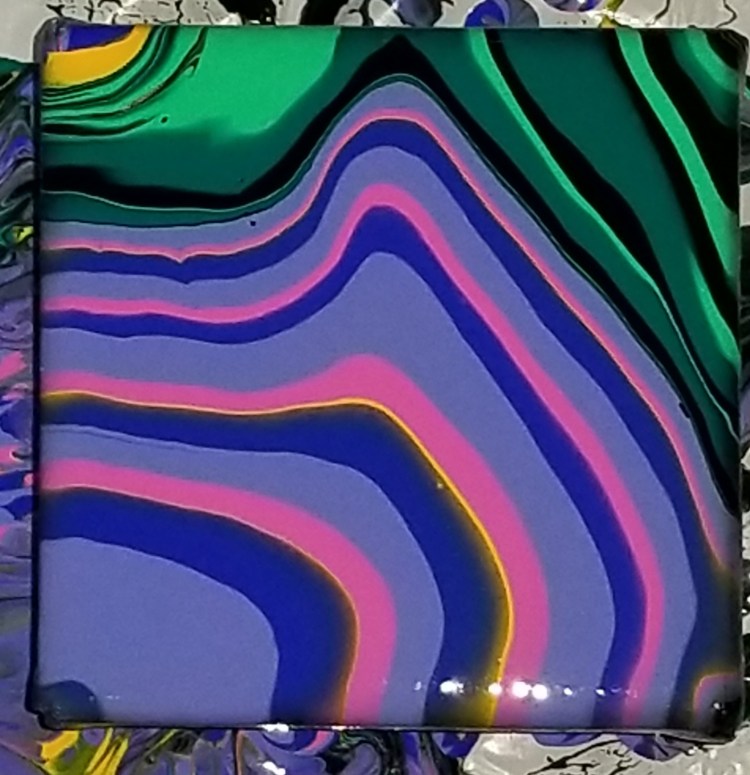
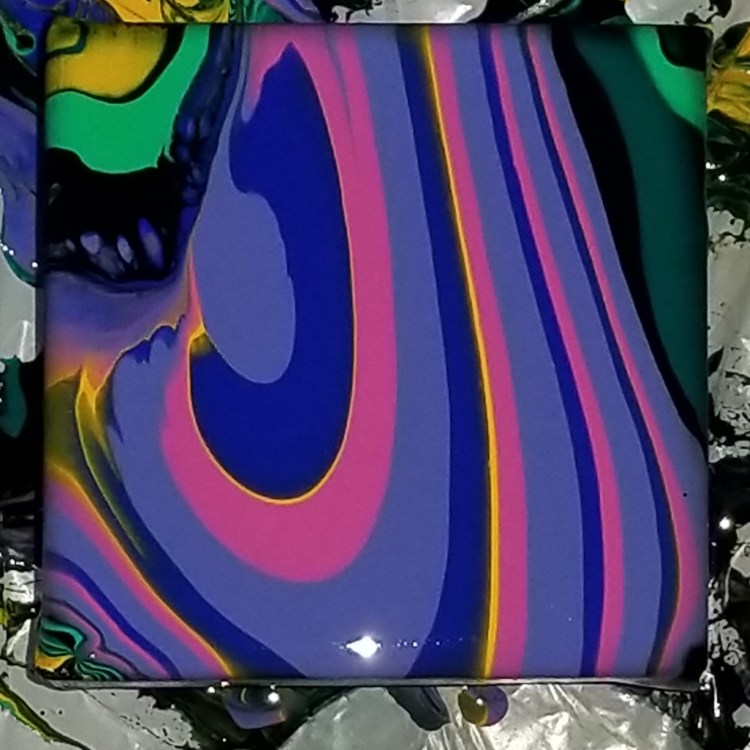
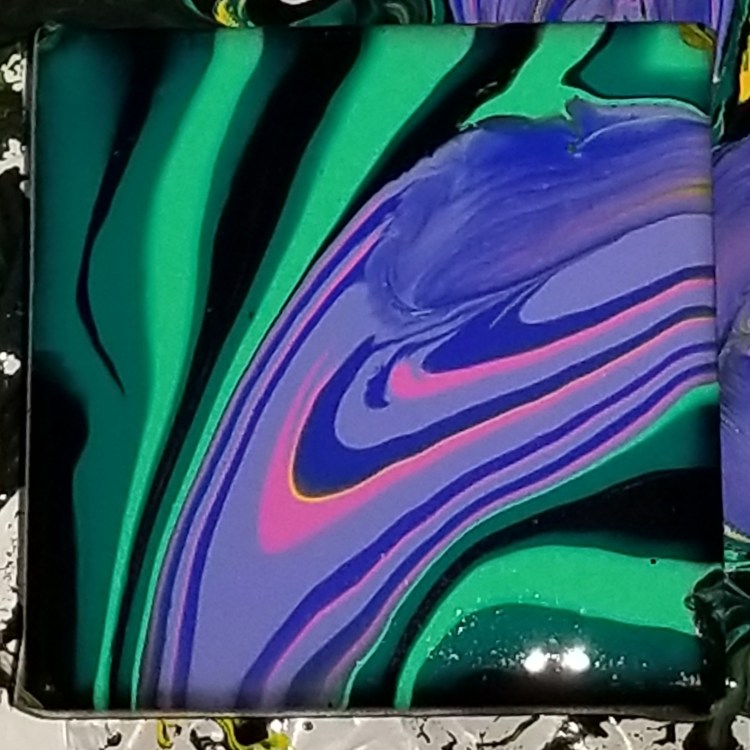
Paintings:
I did a few pours today, because I needed fresh pictures to go with this blog post. I am only about 70% satisfy with the results. However, my last pour was the first of May, so I may be a little out of practice.
I dropped one of the craft stick onto one of the paintings, then one of the cups I was pouring from just jumped right out of my hand, and one of the canvases touch another canvas during the tilting phase. See, out of practice. However, the colors are brilliant.
Pours make excellent backgrounds for other paintings.